How to Find and Print Free Binder Covers Templates for Any Project
Quick Answer: The standard size for binder covers templates is 8.5" x 11" (Letter size). To create a cohesive organizational system, you should download a matching set that includes both the front cover and a correctly sized spine insert (typically 1", 1.5", or 2"). For professional results, print your templates on 65lb cardstock using your printer's "Borderless" setting to eliminate unwanted white margins.
Whether you are organizing a semester's worth of school notes, compiling a professional portfolio, or setting up a home management system, a well-designed binder cover transforms a chaotic stack of papers into an accessible resource. While many people settle for writing on a blank piece of paper with a permanent marker, utilizing professionally designed binder covers templates elevates the aesthetic and functionality of your organizational tools.
This comprehensive resource explores how to select the right dimensions, choose appropriate editing software, execute advanced DIY crafting techniques, and troubleshoot common printing frustrations like slipping spines and uneven margins.
🎯 Why You Need a Custom Binder Cover System
A custom binder cover system is more than just a decorative choice; it is a functional tool for mental clarity and rapid information retrieval. When managing multiple projects, visual categorization significantly reduces the time spent searching for documents. A complete system consists of three parts: the front cover, the back cover, and the spine insert.
According to organizational experts at 101 Planners, personalizing a pre-made template takes under 60 seconds, yet the organizational benefits last for the entire lifecycle of the project. By color-coding your subjects or projects—for example, using blue templates for financial records and green templates for medical documents—you create a visual shorthand that makes your workspace highly efficient.
Furthermore, a cohesive system prevents the "mystery binder" phenomenon. When you utilize matching spine inserts alongside your front covers, you can identify the contents of a binder while it is sitting on a shelf, eliminating the need to pull it down and open it just to check what is inside.
📏 Standard Sizes for Binder Cover Templates
Before downloading any file, it is crucial to understand the dimensions of your physical binder. While the clear plastic overlay on most standard binders provides a little bit of wiggle room, printing the wrong size will result in a cover that either slides around loosely or buckles under the plastic.
The universal standard for North American binder covers is the Letter size. However, the rise of specialized planners has introduced several other common dimensions into the template ecosystem.
| Format Name | Dimensions (Inches) | Primary Use Case |
|---|---|---|
| US Letter | 8.5" x 11" | Standard school subjects, office reports, home management. |
| A4 (International) | 8.27" x 11.69" | Standard European/International documents and portfolios. |
| Half Letter | 5.5" x 8.5" | Mini binders, recipe books, and compact travel itineraries. |
| A5 | 5.83" x 8.27" | Bullet journals, personal planners, and specialized organizers. |
| Classic Happy Planner | 7" x 9.25" | Discbound planner systems and custom lifestyle journals. |
When searching for templates, always verify the document dimensions in your software's page setup menu before you begin editing. Resizing a design after you have customized the text and graphics often leads to stretched images and distorted fonts.
📐 Choosing the Right Spine Insert for Your Ring Size
One of the most frequent mistakes users make is downloading a beautiful front cover but neglecting the spine insert. The spine is arguably the most important part of the system, as it is the only part visible when the binder is shelved.
Spine inserts are categorized by the binder's ring capacity, not the width of the physical spine itself. Standard binder spine templates are typically offered in four widths: 1-inch, 1.5-inch, 2-inch, and 3-inch. However, the actual paper insert needs to be slightly narrower than the physical plastic sleeve to slide in smoothly.
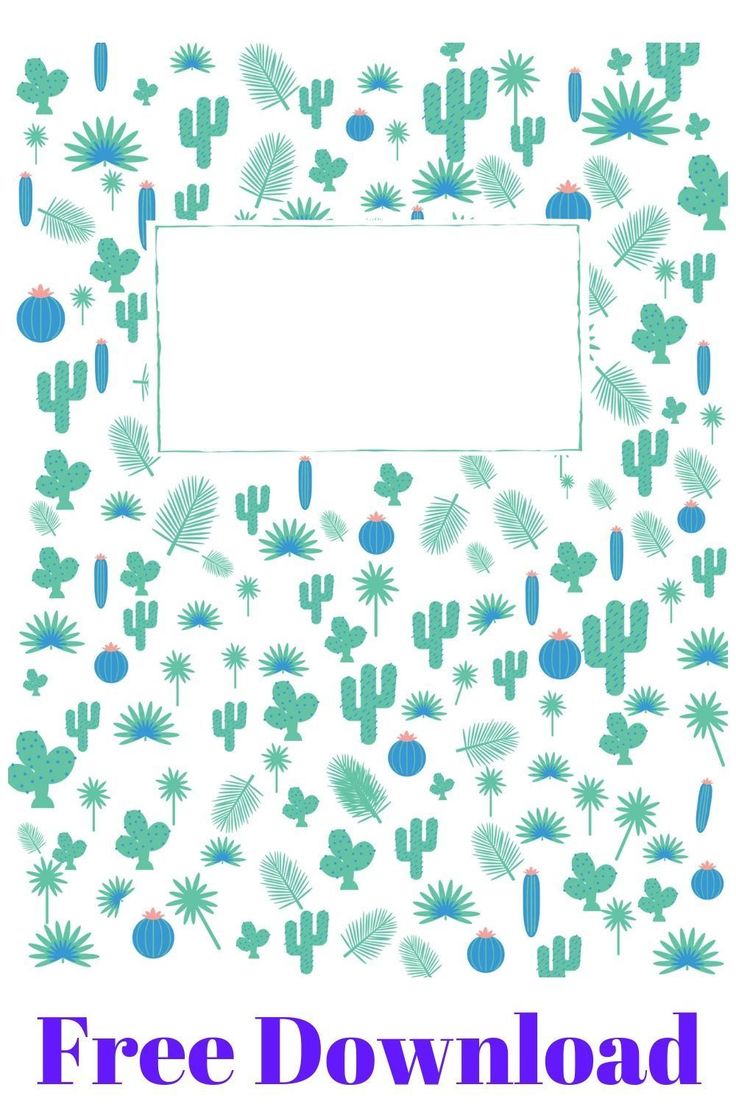
Image source: Pinterest
To determine which spine template you need, do not measure the outside of the binder. Instead, open the binder and measure the diameter of the metal rings. If the ring measures 1.5 inches straight across, you need a 1.5-inch spine template. Note that D-ring binders hold more paper than O-ring binders of the same size, but the spine insert dimensions remain the same based on the ring measurement.
The Tension Cut: If your spine insert keeps sliding down inside the plastic sleeve, try cutting the paper exactly 1/16th of an inch wider than the template lines. This creates a slight curve in the paper, and the resulting physical tension will hold the insert firmly against the plastic without the need for tape.
💻 Which Software Should You Use to Edit Your Templates?
The format of the template you download dictates how easily you can customize it. Historically, templates were distributed as static PDFs or Microsoft Word documents. Today, browser-based design tools have shifted the landscape, offering more flexibility for users without graphic design experience.
Design leaders like Canva emphasize that binder covers should balance personality with formality, particularly for professional reports. Choosing the right software depends entirely on your comfort level and the specific file types provided by the template creator.
Microsoft Word / PowerPoint
Best for: Users who want offline access and precise layout control.
How to use: Many creators offer PowerPoint files because they handle movable text boxes better than Word. If using Word, you must insert your background image and select "Wrap Text > Behind Text" to allow you to type over the design.
Canva (Browser-Based)
Best for: Modern aesthetics, extensive font libraries, and drag-and-drop ease.
How to use: Search for "Binder Cover" in the template library. Ensure the canvas size is set to 8.5 x 11 inches. You can easily change color palettes to match your brand or school colors with a single click.
Editable PDFs
Best for: Quick, standardized printing without layout shifts.
How to use: Open the file in Adobe Acrobat Reader. Editable PDFs have highlighted blue form fields. You simply click the field, type your subject name, and print. You cannot change the background design or fonts in this format.
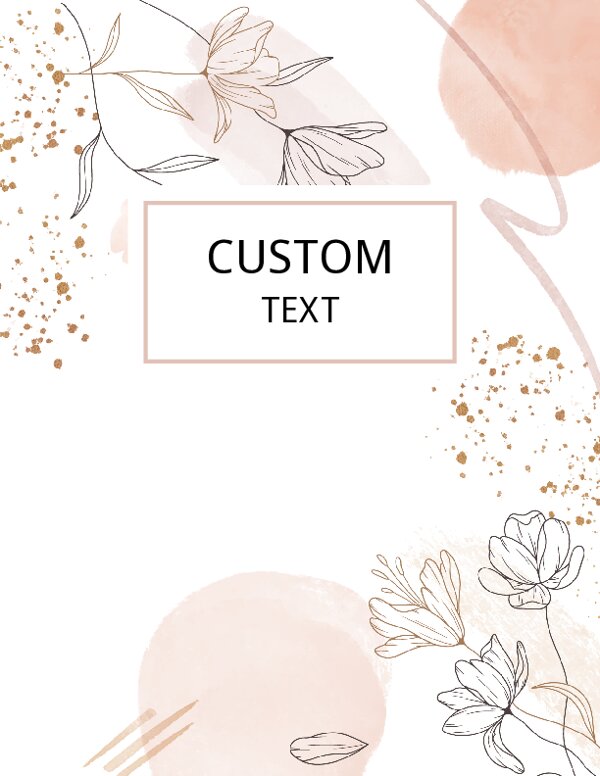
Image source: Maple Planners
🔄 Turning Your Binder Cover Into a Reusable Dry-Erase Checklist
A binder cover does not have to be a static label; it can function as an active productivity tool. One of the most highly effective organizational hacks involves transforming the clear plastic overlay of a view binder into a reusable dry-erase board.
According to productivity insights from All About Planners, the clear vinyl pocket on the front of standard view binders acts as an excellent substitute for thermal lamination. This "Dry-Erase Workflow" is particularly popular for daily cleaning routines, teacher task lists, and student homework trackers.
Here is how to set up a functional dry-erase binder cover:
- Design a Checklist Template: Instead of a standard title page, design a cover that features a grid, a daily schedule, or a checklist with empty boxes. Leave plenty of white space for writing.
- Print on Heavy Paper: Print the checklist on 65lb cardstock. Standard 20lb printer paper is too thin and will wrinkle when you press down on the plastic with a marker.
- Insert and Smooth: Slide the printed checklist into the front clear pocket of the binder. Ensure it is pushed all the way to the bottom so it doesn't shift while writing.
- Select the Right Marker: Use ultra-fine tip whiteboard markers. Standard thick dry-erase markers are too clumsy for writing on a letter-sized checklist. Brands found at stationery stores like Daiso or specialized fine-tip Expo markers work well.
- Wipe Clean Daily: Use a microfiber cloth or a standard whiteboard eraser to wipe the plastic clean at the end of the day. If ghosting occurs over time, a quick wipe with rubbing alcohol will restore the clear plastic.
✨ Creative DIY Hacks to Make Your Binder Stand Out
For those who view organization as a creative outlet, standard printed templates are just the foundation. You can elevate a basic printout using mixed media and crafting techniques to create a cover that is visually striking and tactile.
Industry leaders at the Avery Blog suggest several methods for customizing heavy-duty view binders to give them a personalized, premium feel.
The "Shaker" Glitter Pocket
This technique turns the front of your binder into a dynamic, moving snow-globe effect. First, insert your printed template into the clear front pocket. Next, pour a few tablespoons of chunky craft glitter, sequins, or metallic confetti into the pocket, ensuring it falls in front of the paper. Finally, use a thin line of clear super glue or strong double-sided crafting tape to seal the top opening of the plastic pocket. When you move the binder, the glitter shakes across your cover design.
The Mixed Media Approach
If you prefer a hand-crafted aesthetic, print a minimalist, black-and-white template onto thick watercolor paper or heavy artist sketch paper (ensure your printer can handle the paper weight). Once printed, use highlighters to lay down broad strokes of base color, and ultra-fine permanent markers to add intricate doodles, stippling, or hand-lettering over the printed text. The thick artist paper prevents the markers from bleeding through and warping the page.
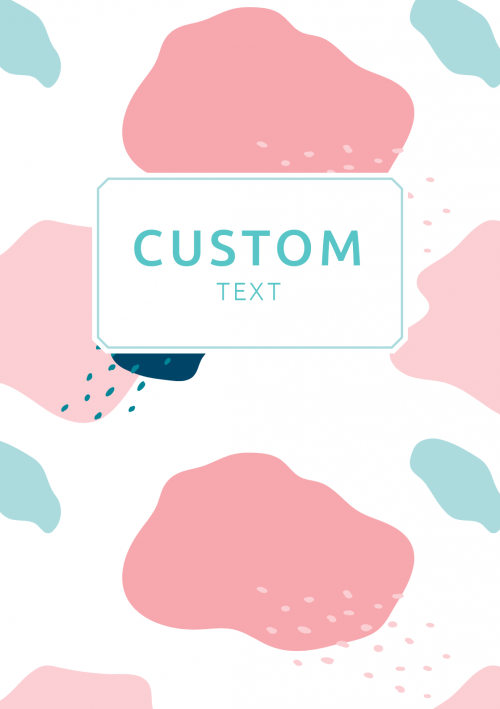
Image source: OnPlanners.com
🛠️ Fixing Common Printing and Assembly Problems
Even with a beautifully designed template, the transition from screen to physical paper often introduces technical frustrations. Addressing these common pitfalls ensures your final product looks professional rather than amateurish.
Solving the "White Border" Problem
The most common complaint when printing binder covers is the appearance of an unwanted white margin around the edge of the design. Most standard home printers cannot print all the way to the edge of the paper, leaving a 0.25-inch unprintable margin.
To fix this, you must access your printer's advanced settings dialog box before hitting print. Look for a checkbox labeled "Borderless Printing" or "Edge-to-Edge." If your printer supports this feature, it will slightly scale the image to bleed off the edge of the page. If your printer does not support borderless printing, your best option is to print the design on slightly larger paper (like Legal size) and use a paper trimmer to cut it down to exactly 8.5" x 11".
Preventing Ink Bleed and Banding
If your template features large blocks of solid color, inkjet printers may produce visible horizontal lines, known as banding. To prevent this, change your print quality settings from "Standard" or "Draft" to "High" or "Photo Quality." Additionally, ensure you tell the printer dialog box what type of paper you are using (e.g., changing the media type from "Plain Paper" to "Matte Presentation Paper"). This instructs the printer to lay down the ink more slowly and densely.
📄 Selecting Paper and Materials for Professional Results
The material you print on has a massive impact on the final appearance of your binder cover. A high-quality template printed on cheap, thin paper will still look low-quality. Understanding paper science helps you choose the right medium for your project.
Standard 20lb Bond Paper: This is everyday copy paper. It is highly transparent, prone to wrinkling, and absorbs ink poorly, leading to washed-out colors. It should only be used for temporary drafts or internal reference binders where aesthetics do not matter.
Cardstock (65lb to 110lb): Cardstock is widely considered a top choice for binder inserts. Its rigidity prevents the paper from buckling or getting wavy when slid into the tight plastic sleeve. The thicker material also prevents the color of the physical binder from showing through the paper.
Glossy Label or Photo Paper: If your template features vibrant photography or deep, rich colors, glossy paper is an excellent option. The glossy coating prevents the ink from absorbing deeply into the paper fibers, keeping the ink on the surface where it reflects light. This results in colors that "pop" significantly more than they would on matte paper.
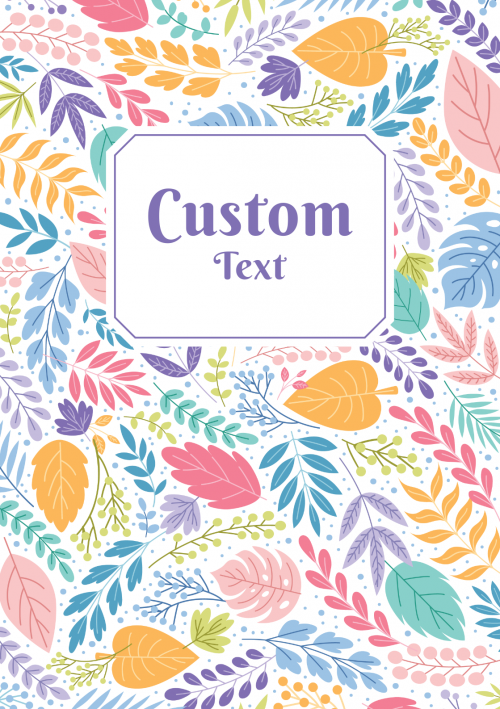
Image source: OnPlanners.com
📁 Specialized Templates for Teachers and Professionals
While generic floral or geometric patterns work well for personal use, certain professions require highly specialized organizational systems. Template creators often bundle these specific covers together to create comprehensive management systems.
Teacher Systems: Educators manage an immense amount of paperwork. Educational resource platforms frequently offer bundles containing over 200 pages of organizational printables. These systems go beyond basic subject covers to include specialized templates for "Substitute Teacher Binders," "RTI Data Binders," and "Parent Communication Logs." A well-organized Sub Binder cover, for instance, often includes emergency contact numbers directly on the front cover for immediate visibility.
Professional Portfolios: For career advancement, specific certifications require standardized portfolio presentations. For example, early childhood educators seeking CDA (Child Development Associate) certification often require specific "Portfolio Front Covers" that meet strict formatting standards. In these cases, clean, typographic templates with ample space for candidate ID numbers and professional credentials are required.
Home Management & Real Estate: Managing household finances or rental properties requires distinct categorization. Templates for these use cases often feature bold, high-contrast typography (e.g., "2026 TAX DOCUMENTS" or "PROPERTY: 123 MAIN ST") rather than decorative elements, prioritizing immediate readability over aesthetics.
Image source: Dogwood Hill Blog
❓ Frequently Asked Questions
- What is the standard size for a binder cover template?
- The universal standard size in North America is Letter size, which measures 8.5 by 11 inches. If you are outside North America, the standard is A4 (8.27 by 11.69 inches). Always check your printer settings to ensure the document size matches your physical paper to avoid scaling issues.
- How do I make a binder cover in Microsoft Word?
- To create a cover in Word, go to the 'Insert' tab and select 'Pictures' to add your background design. Right-click the image, select 'Wrap Text', and choose 'Behind Text'. This locks the image to the background, allowing you to insert standard text boxes over the design to type your subject or title.
- How do I print a binder spine insert correctly?
- First, measure the diameter of your binder's metal rings (not the outside spine) to determine if you need a 1", 1.5", or 2" template. Print the template at 100% scale (do not select "Fit to Page"). Use a paper trimmer or craft knife with a ruler to cut along the template guidelines for a perfectly straight edge.
- What is the best paper to use for printable binder covers?
- Heavyweight cardstock (65lb to 110lb) is widely regarded as a top option because it provides durability and prevents the paper from wrinkling inside the plastic sleeve. If your design features vibrant colors or photography, glossy presentation paper will yield the most professional, vibrant results.
- Can I use Canva templates for 3-ring binders?
- Yes. Canva has a massive library of templates. Simply search for "Binder Cover" or create a custom design with dimensions set to 8.5 x 11 inches. Once you finish customizing the colors and text, download the file as a "PDF Print" for the highest resolution output.
- How do I stop my binder spine from sliding down?
- If your paper insert is too loose, you can secure it by placing a small piece of double-sided tape on the back of the paper before sliding it in. Alternatively, cut your next spine insert about 1/16th of an inch wider than the template lines; the slight bowing of the paper will create tension that holds it in place naturally.
Final Thoughts
Implementing a custom binder cover system is a highly impactful way to streamline your workflow, reduce visual clutter, and protect important documents. By moving beyond plain paper and utilizing properly sized templates, you can create a professional-grade organizational system at home.
- Measure your rings: Always base your spine insert size on the internal metal ring diameter, not the external plastic width.
- Choose the right software: Use Canva for modern, graphic-heavy designs, and Word or editable PDFs for quick, text-based labels.
- Upgrade your paper: Print on 65lb cardstock to prevent the paper from buckling or wrinkling inside the plastic sleeve.
- Adjust printer settings: Select "Borderless Printing" and "High Quality" to eliminate white margins and prevent ink banding.
- Utilize the dry-erase hack: Turn static covers into functional tools by using fine-tip whiteboard markers directly on the clear plastic overlay.
- Secure the spine: Use the "tension cut" method (cutting 1/16th inch wider) to prevent spine inserts from slipping out of place.